Most people think a smart home upgrade has to start with devices, hubs, and long evenings buried in app settings. I learned the hard way that your house can be full of Wi‑Fi bulbs and sensors and still feel dated if the background looks tired. If you want a quick, visible upgrade in a Chico home, the simple answer is fresh cabinets. The direct path is to plan your color, finish, hardware, and smart lighting together and, if you care about a clean result, consider a pro like cabinet painting Chico rather than trying to juggle all the sanding and tech setup yourself.
So the TL;DR is this: if you are already the kind of person who worries about hosting uptime or runs a Discord server for fun, you can treat your kitchen and bathroom like a physical interface. Pick a cabinet color that works with your LEDs, plan power and mounting points for sensors and screens before you paint, and keep the finish low sheen enough so your smart lights do not reflect like a mirror. The tech will feel more integrated, and your space will actually match the connected life you already live online.
Why tech people should care about cabinet paint
If you spend part of your day managing databases, tuning servers, or hanging out in digital communities, a paint project sounds boring. I understand that reaction. I used to think home upgrades were a separate universe from tech. Then I tried to add under‑cabinet lighting after my cabinets were already painted and sealed.
It was like trying to add monitoring to an app after it hits production. Everything is harder. You fight the environment instead of shaping it.
If you treat cabinet painting as “just cosmetic,” you miss a rare chance to shape your physical workspace around your devices and your daily routines.
When you plan your cabinets and smart devices together, you get several concrete benefits:
- You can hide wires and hubs behind panels or inside cabinets before paint goes on.
- You can choose paint that works with color‑changing LEDs instead of fighting them.
- You can place charging stations and screens exactly where you cook, work, or hang out.
- You can shape how the space looks on camera for calls or streams.
If you already think about UX and UI all day, this is just UI for your house.
How cabinet color affects your smart lighting and screens
This part gets ignored a lot. People pick cabinet colors from Instagram and only later install smart bulbs. The result often looks harsh or weird in person.
Cabinet surfaces change how your smart home feels in three main ways: brightness, color, and reflection. It is not abstract. It is physics.
Light vs dark cabinets with smart bulbs
Here is a simple way to think about it.
| Cabinet color type | How it affects smart lighting | Best for |
|---|---|---|
| Very light (white, off‑white) | Bounces light everywhere. Rooms feel brighter at lower bulb power. Can make cool whites feel “clinical” if you push color temperature too high. | Small kitchens, low natural light, people who want clean video calls without huge ring lights. |
| Medium (greige, soft gray, light wood tones) | More balanced. Lets your RGB scenes show without overpowering them. Easier on camera because shadows are softer. | Multi‑use spaces where you cook, work on a laptop, and maybe stream or attend meetings. |
| Dark (navy, charcoal, black, rich wood) | Absorbs a lot of light. Smart bulbs need higher brightness. Colored scenes look deeper and more dramatic but glare from spotlights and screens can be sharp. | People who like moody “battlestation” vibes or heavy RGB accents. |
If you already do color calibration for monitors, this is similar. Your cabinets are giant surfaces that either bounce or swallow your light.
Finish level: matte vs satin vs semi‑gloss
Smart lighting plus glossy cabinets can create annoying hotspots. You see tiny LED reflections in every panel, which looks messy on camera.
For most tech‑heavy homes, a satin or low‑sheen finish works better:
- It still wipes clean, which matters in kitchens.
- It avoids mirror‑like reflections from strip lights and screens.
- It photographs better if you care about content or just like clean photos.
Semi‑gloss is sometimes ok on trim. On big cabinet doors near bright LEDs, it can be distracting. If you already fight reflections on your monitors at certain times of day, you know the feeling.
Color temperature and cabinet tone
You probably already have a preference for 2700K vs 4000K on your screens and bulbs. Cabinets interact with that more than you might expect.
Rough guide:
| Cabinet tone | Better color temperature ranges | Notes |
|---|---|---|
| Warm whites / creams / beige | 2700K to 3500K | Stays cozy. Cooler settings can make the cabinets look yellow or dirty. |
| Neutral gray / greige | 2700K to 4000K | Most flexible. Works with both warm “evening” scenes and cooler “work” modes. |
| Cool gray / blue / deep green | 3000K to 4500K | Cooler light looks crisp but too cool can feel like an office. Warmest settings can fight the cabinet undertone. |
If you automate your lights by time of day with Home Assistant, Google Home, or similar, think about how each scene will look against the cabinet color, not only the wall.
Planning cabinet painting like a deployment
If you work with software or hosting, you already think in stages, backups, and rollbacks. A paint project benefits from the same mindset.
Step 1: Define the “use cases” of your kitchen or workspace
Before you pick a color, ask how you actually use the space, not how it looks in marketing photos.
Some questions that help:
- Do you work from the kitchen table or counter with a laptop or tablet?
- Do you record video or stream with that room in the background?
- Do you cook a lot at night, so smart lighting is your main light source?
- Do you want a place where friends can gather, maybe while you are also watching a live event or playing something?
If your kitchen doubles as a workstation, you might want a more neutral cabinet color that supports both “focus mode” and “relax mode” scenes.
Step 2: Map your devices before you paint
People usually buy devices later and try to squeeze them in. That is like building a web app and deciding on security and logging at the end. Possible, but messy.
Before painting:
- Pick where your smart speakers or smart displays will sit.
- Plan where strip lights will mount under cabinets.
- Estimate where motion sensors, contact sensors, or cameras might go.
- Think about power access. Will you drill small holes behind cabinets to hide cables?
If you decide device locations while doors are off and surfaces are bare, you can hide more wiring and avoid drilling through fresh paint later.
Write it down like a tiny network map of your kitchen. Not because it is fancy, but because you will forget small decisions in the middle of sanding and painting.
Step 3: Choose your technical level of involvement
This is the part where I push back a little. Some people in tech assume DIY is always the smart move because “how hard can it be.” That is sometimes true for code, less true for surface prep.
Cabinet painting has some annoying steps:
- Degreasing years of cooking residue from doors.
- Light sanding or deglossing without destroying the surface.
- Priming with the right product so the paint sticks.
- Keeping dust off wet paint so it cures smooth.
If you only have weekends and your day job already eats your focus, hiring a pro is not lazy. It is just a different use of your time. You should not feel obligated to turn everything into a personal project.
Why Chico homes have their own quirks
If you live in Chico or the nearby area, there are a few local realities that affect cabinet painting more than people expect.
Heat, light, and wood movement
Chico summers can get intense. That shifts things in a few ways:
- South and west facing kitchens get strong direct light for part of the day. Paint colors can look washed out at noon and gloomy at night.
- Wood doors expand and contract with temperature and humidity. Poor prep can lead to early chipping along panel edges.
- Bright outdoor light leaking in can clash with cool indoor smart lighting if you do not balance color temperature.
If you are used to tuning brightness on monitors or setting “dark mode” schedules, you will notice these shifts right away. Your cabinets should not fight your lighting automations.
Dust, pollen, and finish choice
Chico air can carry a lot of dust and pollen at certain times. That affects both the paint process and your daily cleaning.
Some practical points:
- Painting in a dusty season needs better masking and airflow control so particles do not embed into the finish.
- Slightly lower sheen on cabinets can hide small particles and micro scratches better than high gloss.
- If you run air purifiers or fans near your kitchen, plan their position during painting so they do not blow directly on wet surfaces.
Again, if you already obsess over dust near your PC intake fans, this will feel familiar.
Connecting cabinet painting with your smart home stack
A lot of guides split “decor” and “smart home” into separate worlds. That split is artificial. Your hardware runs in a physical shell.
Planning automations around the painted space
Imagine a few concrete setups.
- Morning mode: Under‑cabinet lights soft warm white, main light at 30%, coffee machine smart plug on, gentle brightness on a kitchen display for weather and calendar.
- Work mode: Cooler white on the main light so you can read on a laptop, under‑cabinet lights stronger on the cooking side, music at low volume from a smart speaker in a corner cabinet.
- Evening mode: Lower brightness, color accents near open shelves, and maybe a “movie snack” scene with only the path to the kitchen lit.
Your cabinet color will reinforce or fight each of those. Dark navy cabinets with low light can feel like a cave in the morning. Pure white cabinets with always‑cool lighting can feel like an office kitchen, not a home.
If you like writing YAML for scenes or using Node‑RED flows, think of cabinet color as a global style variable.
Sensor and device placement on painted surfaces
After your cabinets are painted, you will be tempted to stick sensors anywhere with adhesive pads. That can work, but a bit of planning helps.
Some tips:
- Use small, paintable cable channels along the underside of cabinets if you must run a visible wire. Paint them to match once the surface cures.
- Pick sensor colors that blend with the cabinet finish. A white sensor on dark green looks louder than you expect.
- Mount cameras in corners that reflect less in the cabinet finish, otherwise you see bright lens circles in dark paint.
Think of every visible device on your cabinets like a widget on a dashboard. If it draws the eye for the wrong reason, it is in the wrong place.
DIY vs hiring pros in Chico for cabinet painting
Since you asked about cabinet painting in Chico, it is fair to question when a local pro makes sense and when to do it yourself. This is where I will not just nod along. Some tech people underestimate the physical work involved.
When DIY can make sense
DIY is reasonable if:
- You enjoy hands‑on projects and do not mind repetitive prep sanding.
- You have space to lay out doors flat without pets or kids bumping them.
- You are ok with minor imperfections and a learning curve.
- You have at least several full days to commit, not just scattered hours.
If you want to experiment with bold colors or patterns and you do not mind repainting later, DIY can feel like tinkering with a side project.
When a pro is usually a better call
In my view, hiring someone local is better when:
- Your cabinets are older, already painted, or have lots of detail and grooves.
- You care about a smooth sprayed finish that looks close to a factory coat.
- You cannot be without a functional kitchen for long.
- You want color guidance that matches Chico light and your smart setup.
You already juggle enough complexity in your digital life. Offloading the physical labor is not “cheating.” It is just reallocating attention.
Practical checklist: connecting paint choices to smart gear
This is where checklists help, even if they feel a bit nerdy. Before you lock down paint, run through these points.
Color and lighting fit
- Test paint samples under both daylight and your actual smart bulbs at night.
- Try your usual light temperatures (warm evening, cooler work) on each sample.
- Take a short video call standing in front of each sample to see how skin tones and background look.
- If you use RGB scenes, test a few strong colors to see how the cabinet surface reacts.
You might feel this is overkill, but it is much easier than disliking the color for years.
Hardware and cable planning
Before the painting day:
- Label each cabinet door and matching frame location so rehanging is simple.
- Plan where routers, mesh nodes, or smart hubs might live nearby and whether any cables need to pass through cabinet walls.
- Decide if you want outlets inside cabinets for hidden charging stations.
- Check that under‑cabinet lights align with your main work surfaces, not just wherever the electrician feels like mounting them.
These are small things that add up. They feel a bit like deciding database indexes before traffic spikes.
Finish and durability choices
Ask yourself:
- Do you cook a lot of oily or messy food that will hit the cabinets?
- Do pets or kids touch lower cabinets often?
- Do you often pull chairs or stools close to island cabinets where scuffs happen?
If the answer is yes to any of those, lean toward a tougher cabinet paint product with a washable satin or low sheen. High gloss might clean easily, but it turns every fingerprint and irregularity into a tiny spotlight once smart lights hit it.
From digital dashboards to kitchen dashboards
If you are active in tech communities, you probably think in dashboards, not single numbers. A kitchen after a cabinet update can work in the same layered way.
Information flow in a painted, connected kitchen
Imagine this typical day:
- Your calendar and tasks show quietly on a small smart display that sits under a painted cabinet, matching the color and blending in.
- Ambient light shifts with the time of day, bouncing softly off neutral cabinets so you do not feel like you live in a showroom.
- Under‑cabinet strips guide you to the coffee without blinding you while the rest of the house stays dark.
- The camera in the corner shares a subtle view of the space for family check‑ins, without bright reflections from glossy doors.
It sounds small, but these details change how the space feels more than adding one more sensor.
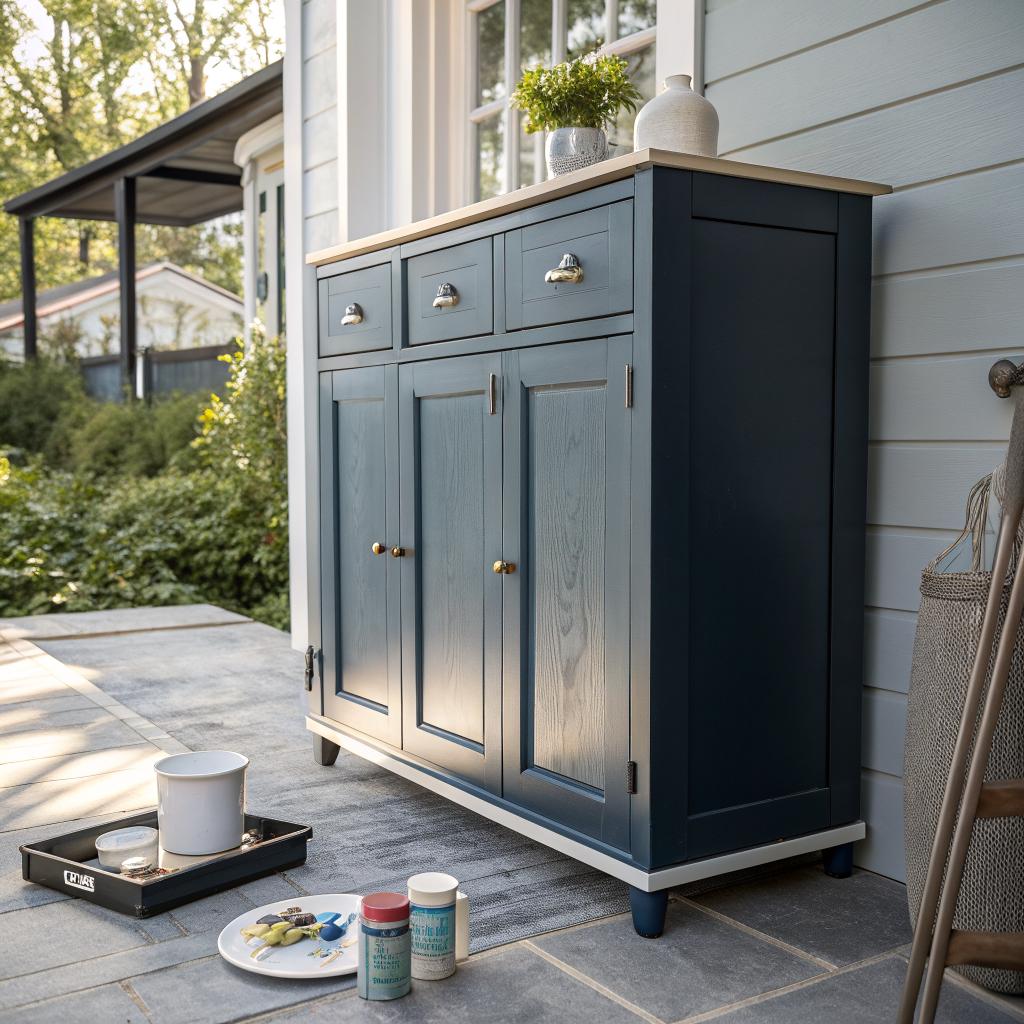
A smart home feels calm when the tech fades into the background and the surfaces, lighting, and devices look like they belong together.
Freshly painted cabinets that work with your lighting scenes help the hardware disappear visually.
Common mistakes tech‑savvy people make with cabinet painting
I will call out a few patterns that show up a lot, especially among people who are very good with software and assume the physical world will behave as predictably.
Over‑focusing on color and ignoring prep
People spend hours on hex codes and mood boards, then rush the sanding and cleaning. In code terms, that is like obsessing over UI colors while ignoring security.
Bad prep leads to:
- Chips around handles in a few months.
- Peeling near the sink where moisture and oils collect.
- Visible brush marks that catch every light angle from your LEDs.
If you do DIY, force yourself to spend at least as long on prep as on painting. If you hire, ask what the prep process looks like. If the answer is vague, be cautious.
Ignoring how cameras see the room
If you never turn on your webcam at home, this might not matter. But many people work remote now.
Common issues:
- Cabinets too bright relative to your face, so your camera auto exposure makes your skin look dark.
- Strong reflections behind you from glossy doors, turning into bright flares.
- Busy colors that distract viewers on calls or streams.
When testing colors, sit where you usually take calls, point the camera, and record 30 seconds. Look at that more than how the cabinets look to your naked eye.
Underestimating the time cost
Painting cabinets well is not an afternoon task. It is closer to a multi‑day deploy with drying windows. Many people start, get halfway, then live in a half‑finished kitchen for months.
Before you begin, be honest:
- How many uninterrupted hours can you spare?
- Where will you put doors to dry safely?
- Are you ok cooking in a partial kitchen for a while?
If your answers are shaky, paying someone is not weakness. It is basic project management.
Bringing it back to your hosting and digital world
It might sound a bit strange to tie cabinet painting to web hosting, servers, and digital communities, but there is a pretty direct parallel.
You already know that:
- Infrastructure you never see directly still shapes every interaction.
- Small design choices in an interface affect how people feel and behave.
- Underplanned changes in production cause headaches long after the deploy.
Cabinet painting is “infrastructure” for your kitchen or your whole home if it is open plan. It is quiet, but it shapes how often you cook, where you work, and how your smart devices feel.
If you host communities or build products, you probably care about experience and performance for others. Doing the same for yourself at home is not indulgent. It is just consistent.
Q & A: common questions about smart homes and cabinet painting in Chico
Question: Is cabinet painting really worth it compared to just buying more smart devices?
If your cabinets are old, yellowed, or chipped, more devices will not fix how the room feels. One solid paint project can make existing lights, speakers, and sensors feel new, without buying extra hardware. I think of paint as a one‑time platform upgrade and devices as apps that run on top.
Question: Do I need to pick a “smart home color” like white or gray for cabinets?
No. You do not have to lock yourself into a tech showroom style. Warm colors and even deeper shades can work if you balance finish, lighting brightness, and camera placement. Just test your real bulbs and scenes on samples before committing.
Question: If I rent or cannot make big changes, is there still a link between cabinets and my smart setup?
Yes, but it is softer. You can focus on temporary changes like adhesive lighting, peel‑and‑stick film on bland cabinet faces, and careful sensor placement that respects existing finishes. The same thought process applies: plan your device layout, think about glare and reflections, and test how the space looks on camera.
What part of your own setup worries you more right now, the tech stack or the physical space wrapping around it?


